Programming for Potatoes

Who needs a brain the size of a planet when you’ve got a Potato-Brain ?
Introduction
 While Deep Art Effects is a superb tool for manipulating and creating interesting images it is frustrating that so many mouse clicks are required to get things done. At the behest of the community Deep Art Effects noticed what we were asking and released a command line version. The command line version of Deep Art Effects has almost all the functionality of it’s GUI parent but allows for mouse-free operation at the cost of having to type your request at the command prompt.
As you can now process an image from the command line its obvious that if you have some basic programming skills then you can automate repetative tasks with relative ease. One problem with this solution, of course, is that not everyone has the necessary coding skills to do what they want. Here we present some basic scripts that will automate some of the more laborious tasks a DAE user is likely to desire but doesn’t know how to achieve without guidance.
To keep things as simple as possible we’re going to use PHP as a scripting language. PHP has a long track record and is one of the most popular methods of creating Websites. This website uses WordPress and WordPress is written in PHP. One thing that isn’t immediately obvious about PHP is that is is not just capable of controlling all types of Websites, it is equally capable of being used as a general purpose scripting language much like many other languages. PHP also has the advantage that it works on all platforms and is relatively small weighing in at a few tens of Mb and doesn’t need huge external libraries to provide much of its functionality – when you do need that extra bit of functionality most of the useful ones are provided in the original download as optional extras that are not enabled by default.

For our first project we’re going to automate the creation of large quantities of AI generated Images condensing all that typing that would be required on the command line into one controlling script that runs DAE as often as we want outputting a new unique image every few seconds. This project has the additional advantage that there is no confuguration required (some future projects may require extra stuff but we’ll worry about that when we get to it – it’s actually also very easy if/when we need to do it)
So, to get all this running you need the following
- A registered*** version of Deep Art Effects GUI version (note – this link pays for me writing this tutorial if you click it then buy a DAE license – so click it!)
- A copy of Deep Art Effects CLI version (both are needed – I don’t get any cash for this link though…)
- A copy of PHP (choose one of the Zip versions, unless you have a definite reason not to I suggest the Thread Safe option – the second one)
- A copy of my makeart.php script (it’s also zipped as browsers can get wary of you deliberately downloading a PHP file)
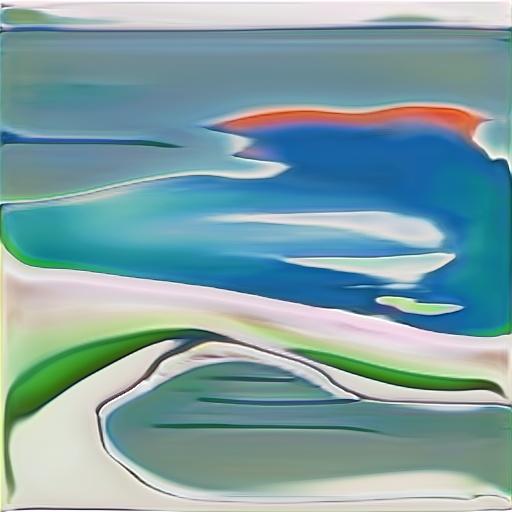
*** You can try this all out without a registered version of Deep Art Effects but the results will look like this…

The trial version watermarks all images…
Deep Art Effects
 Unless you already have Deep Art Effects installed you’ll need to go and Download the DAE GUI and install it. If you already have a LICENSE then you’re all set for the next step otherwise you’ll need to go and BUY ONE
Once you’ve installed and licensed Deep Art Effects you now need to go and get a copy of the Deep Art Effects CLI, the link for the download is under the main Windows download link where it says as “(BETA) Command Line Tool Download”. Just download this file and save it somewhere safe as we’ll need it later.
Finally also download makeart.zip which contains makeart.php as we’ll need that when we get to extract the CLI as well.
PHP
Next we need to obtain and extract PHP so go to the PHP download site and grab yourself a copy of the Zipped Windows 64 bit Thread Safe version (unless you know you need the Non-thread safe). Save this somewhere safe as well and we’re all ready to get everything set up.
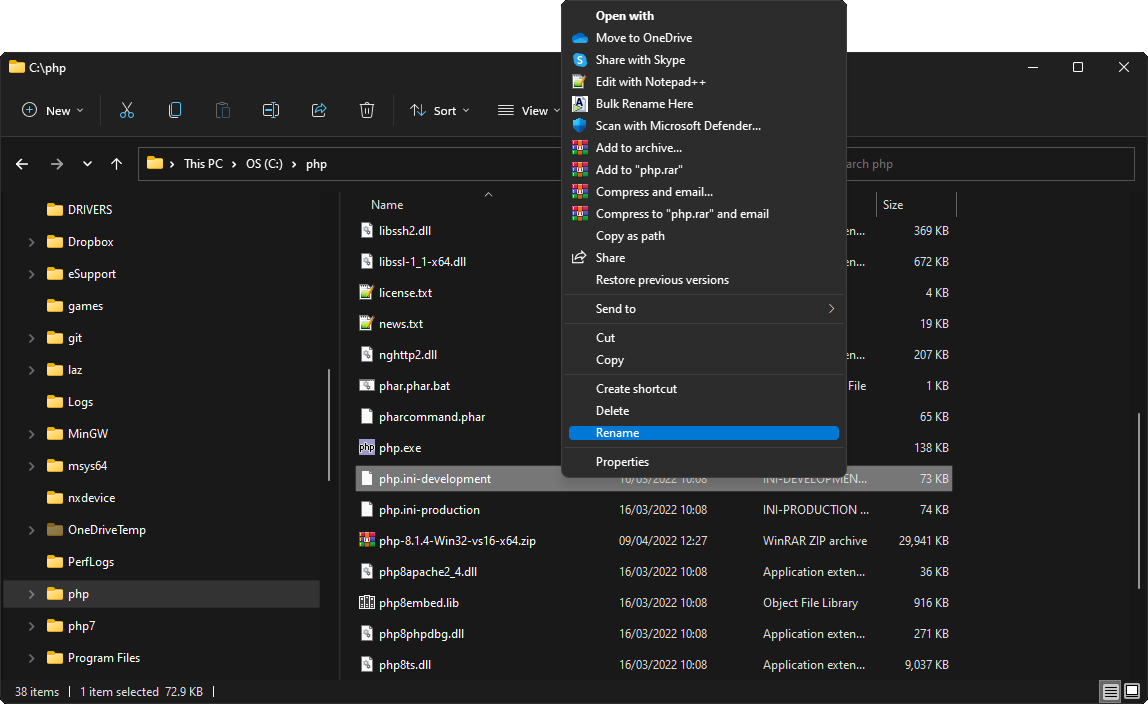
To start with create a directory in C:\ called php (so you’ve got a C:\php directory) then use explorer to copy or move the PHP zip file you just downloaded into it. Now use your any ZIP extraction tool such as WinRar to extract the contents of the zip into c:\php like this…
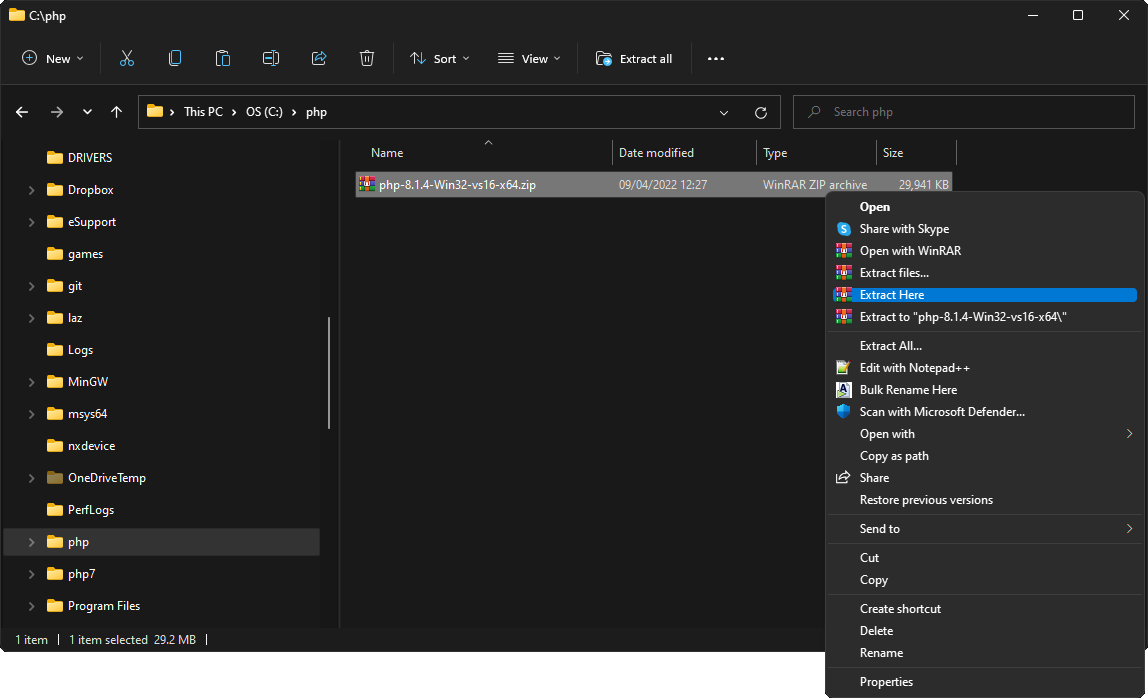
You should now have a load of files and a few directories in c:\php. If, for some reason, you’ve just got one directory then move the contents of that directory into c:\php.
We now just want to rename the file php.ini-development to php.ini
Once you’ve renamed the file shown above so it’s called php.ini you’re all done – PHP is installed and will work perfectly.
Wasn’t that easy?
Lets make some Art
For the final step of this process we need to extract the Deep Art Effects CLI you downloaded earlier and the makeart script into the same directory. Now that PHP is installed somewhere easy to get at the exact location of the Deep Art Effects CLI and the controlling script makeart.php don’t matter that much so just extract them both into a directory of your choosing.
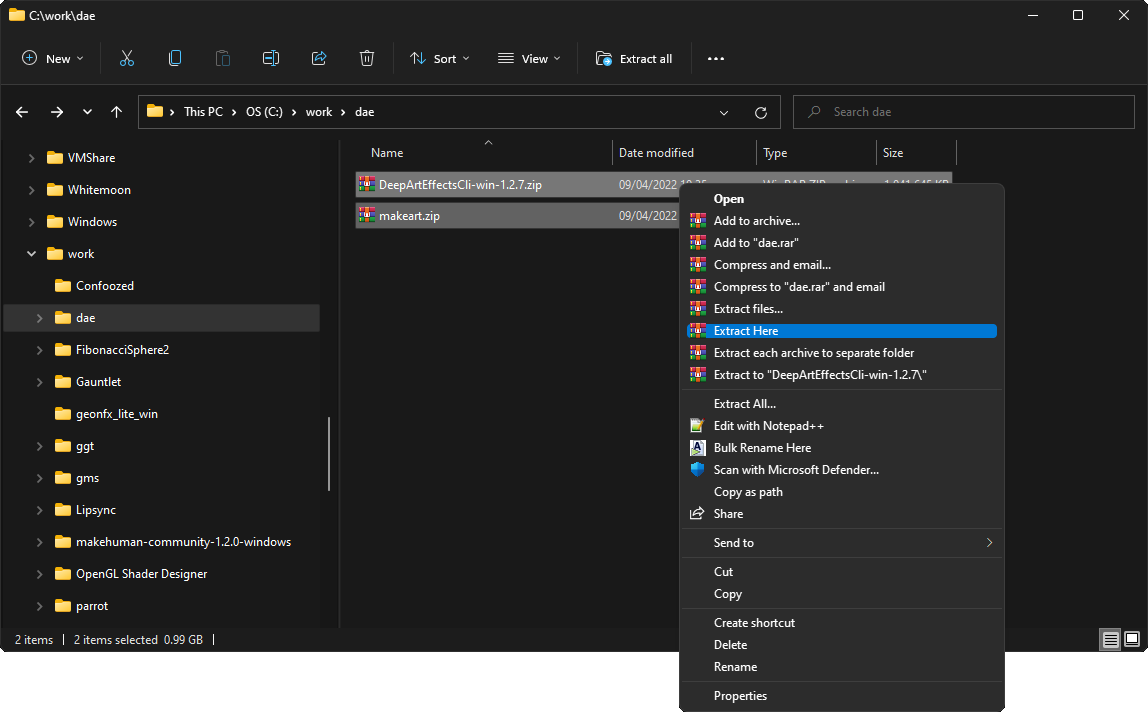
Make some directory, I’m choosing c:\work\dae, and copy the DAE CLI and makeart zips both there and extract them
Now you need to open a command prompt (PowerShell window) in the directory that now has DeepArtEffectsCli.exe and makeart.php – an easy way to do this is by holding down the shift key then left-clicking on the directory you’ve put everything in

Now you’ve got a command prompt just type in the following line and the magic will happen…
\php\php makeart.php art ai 1 100
And this will happen…
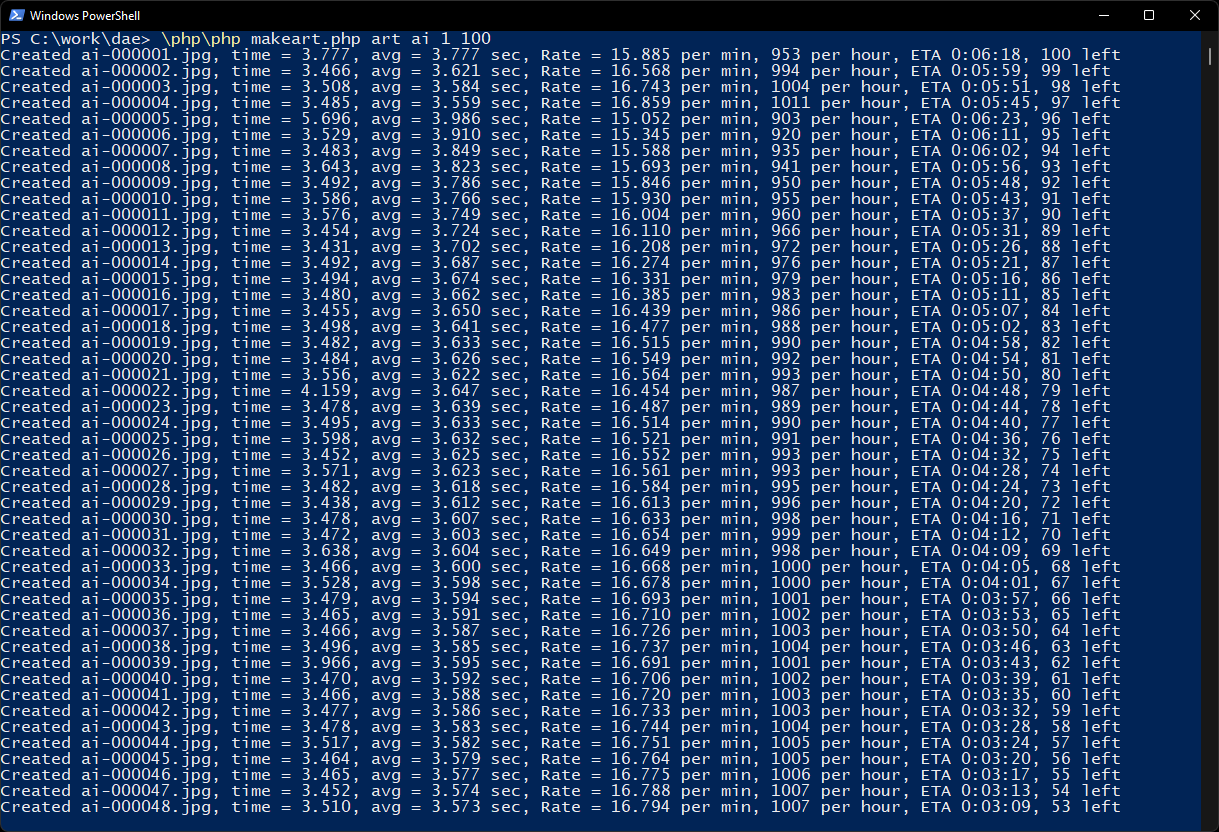
My own run of the above took exactly six minutes. The estimation shown starts of very rough and gradually gets more and more accurate as time proceeds. The stats are present to give you an idea of how many images you can create in a given timescale and also to show you how long the current command you’re running has left to completion.
The above command is asking the script to create a directory called “art” then use the prefix “ai” and create images in it starting at number 1 and making 100 in total.
You could add another 100 to the same directory by issuing this command
\php\php makeart.php art ai 101 100
i.e. – do the same thing but start at 101 as we’ve already done 1 to 100
You could then try
\php\php makeart.php art ai 301 1800
But that will take a while 🙂
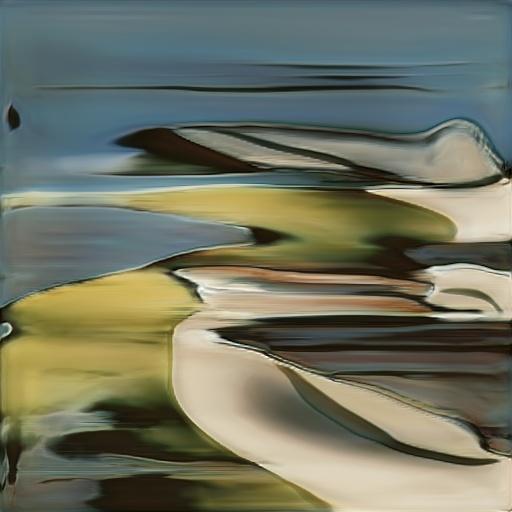
Whatever you do you’ll end up with a large number of random AI generated images in your destination folder like this…
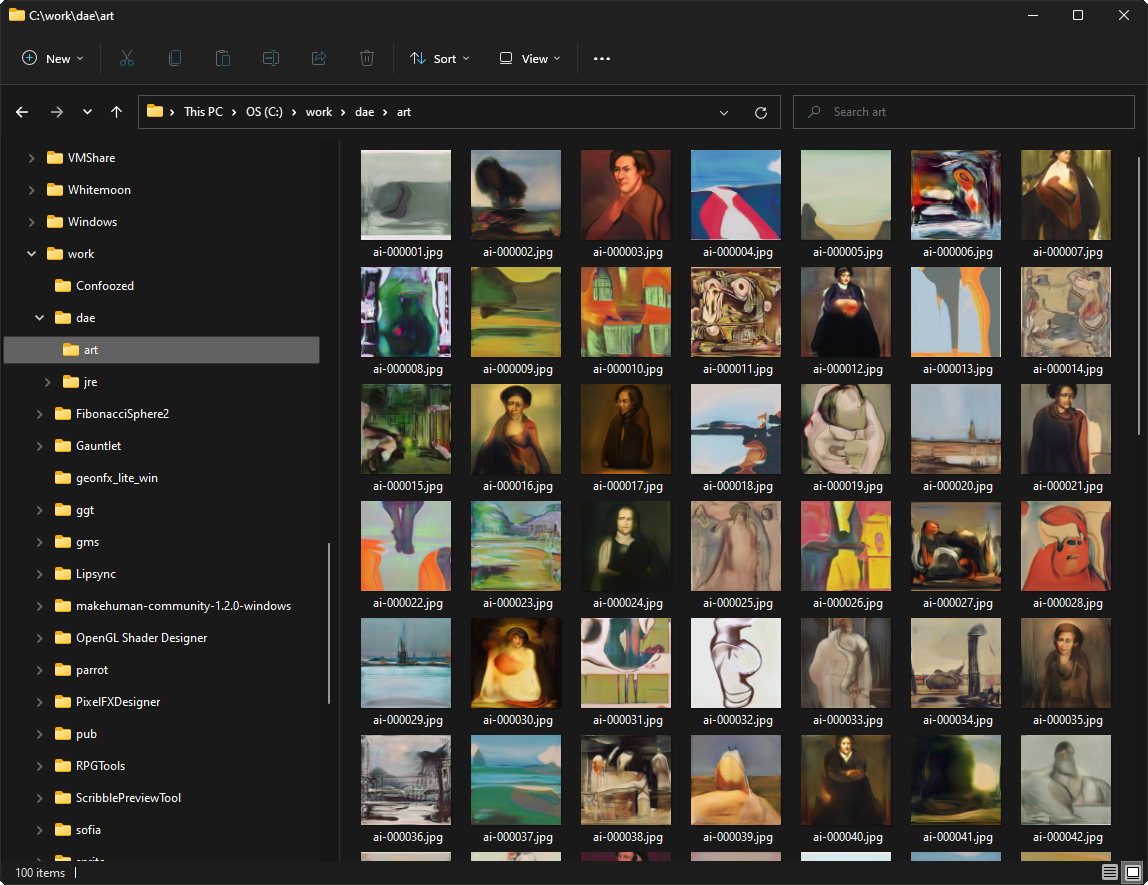
Yours will, of course, be completely different but also faintly reminiscent of the above image.
The Source Code
If you open makeart.php in a standard text editor such as NotePad++ (not word or anything like that though – that’ll break things) you can see exactly what’s going on in the code. I’ve written a lot of comments to guide you through what’s going on. The code should be easy enough to follow even if you don’t know PHP (almost all programming languages make sense if you know at least one or two others)
The PHP Manual should explain most of the stuff in the code if you’re coming from some other coding tool.
The most important part is line 117 where I do this…
 // Construct the command line
 $cmd = ".\\" . $dae . " generate -name artwork -output " . $outpath . "/" . $fnprefix . "-" . sprintf("%06d", $i) . "." . $ftype;
This line creates the command line that you’d type if you weren’t doing this by code. The variable $dae just holds the name of the DAE CLI (as I tend to rename mine to dae.exe) so the above line makes $cmd equal to….
.\DeepArtEffectsCli.exe generate -name artwork -output art/ai-000001.jpg
… if $i is one, if it were 123 then the filename after -output would be art/ai-000123.jpg
By reading the CLI help output and modifying my code you can therefore make your own versions of this script which do other things like remove the background from an image – or lots of them all at once.
Somewhat predictably after that comment – Next time – removing backgrounds from a lot of images without clicking