See bottom of page for image details
Command Line Interface has arrived (Windows only ATM)!
Some of us have been waiting ages for this…
You need to have a license for Deep Art Effects to use it and you can Download your copy right now, it’s under the main download labelled ‘(BETA) Command Line Tool Download’.
If you haven’t already got it you need to have Java installed and working as well which you can get from here.
So, what’s it do?
The Command Line Interface for Deep Art Effects allows you to automate the application of styles to images. It also allows you to super-sample an image making it four times the size without loss of detail.
Here we’re going to look at the automation of applying styles to images part as that can save you a lot of time if you’re working with multiple images or multiple styles.
The usage is officially described here
There are a few issues with this, the very first, release. Deep Art Effects are now aware of the problems and say they will address them in the next version. The two biggest issues are the startup time and the fact that it saves everything as a PNG at the moment – i.e. if you want JPGs you’ll need a batch converter like IrfanView.
To apply a style to an image you type something like this…
DeepArtEffectsCli artfilter -input "C:\dae\cli\girl.jpg" -output "C:\dae\cli\01-girl-joke.jpg" -stylename "joke"
This has the same effect as starting Deep Art Effects, Loading an image, setting resolution to Original, applying a style, saving the image and quitting DAE. This is, in fact, exactly what it does – a version is promised that lets you process multiple images all at once.
Let’s Play with the Command Line (without typing!)
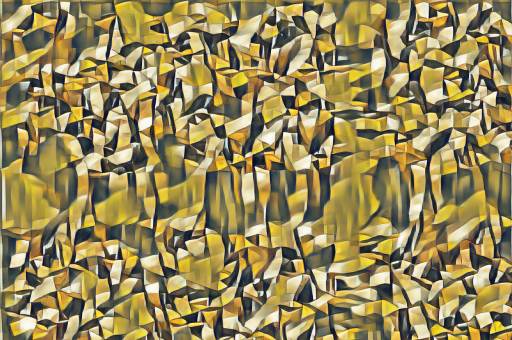
An interesting question is what happens if you apply a style to an already styled image. There are now 68 base styles. To apply all of them to one image you’d need to load an original, apply a style and save it. Then you’d have to load the image you just saved back in and apply another style – doing this again and again until you’d gone through every style.
This example is boring as it sounds but you get some freaky somewhat abstract art out the other end.
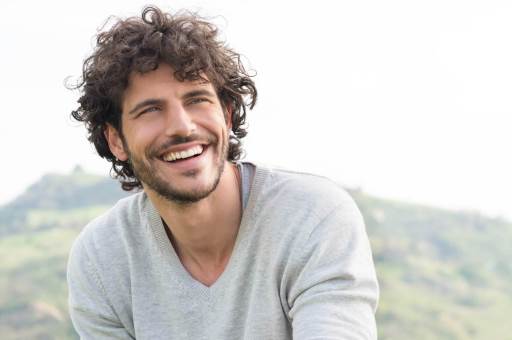
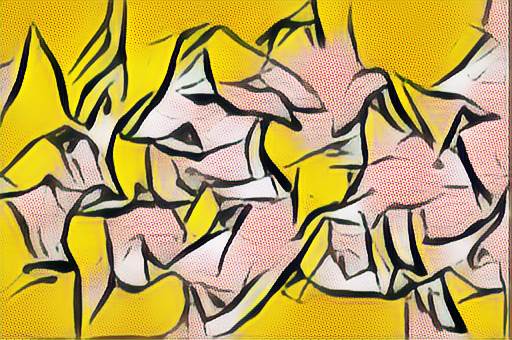
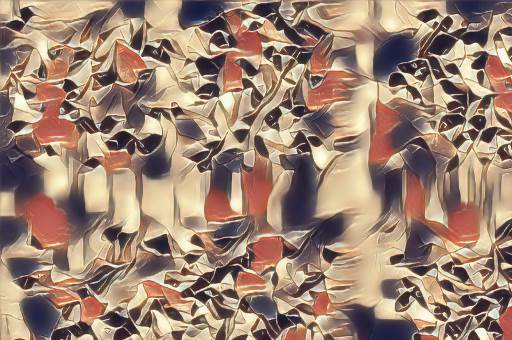
Let’s take the portrait of the man used in Style Variations and apply all 68 styles to him randomly.
The images below are all the same image, they’ve just had all 68 styles applied in a random order to the same original. The results can be less than varied but often there’s something that really stands out as you go through what happens with each new added style.
 |
 |
 |
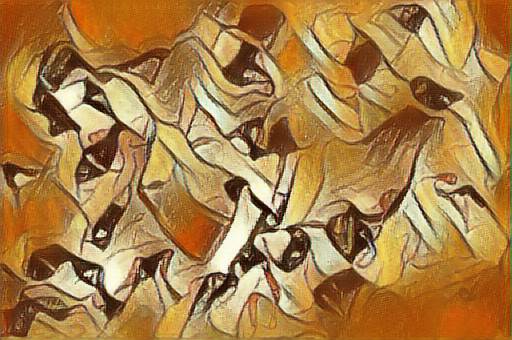 |
These are the end results, the journey to the end has it’s own stand out images.
Let’s have a look at what happens along the way using the image at the top of this page as the original and going through all styles one by one.
As you step through the slideshow the next image is the one you’re looking at styled using one of the remaing styles not used yet.


Very big numbers!
You may have heard that there are more ways to shuffle a deck of cards than there are atoms make up the Earth – if not go and Google it! That number is 8 with 67 zeros after it – a gigantic number.
But hold on – you’ve got 68 styles whereas a deck of cards only has 52 – our number’s bigger!
There are, in fact, 25 with 95 zeros after it ways to pick 68 styles in a row. Thing about it, at your first pick you have 68 styles to chose from. You pick one so there are now 67 remaining.
So, without using a style twice, there are 68 ways to pick the first and you could have picked any now you’ve got 67 left so your first two style choices are 68 x 67 = 4,557 options of picking just two. Move on to a third choice and you’re up to 300,696 and it goes on getting rapidly increasing number of choices, by the time you’ve picked six styles you’ve chosen a single option from 78,806,407,680 possibilities with a lot more to go…
No wonder I never win the Lottery! Actually – that’s hugely more likely than two people picking the same six styles.
Try it yourself
If you want to try the randomly ordered application of style out we’ve written a little thing that will create you a randomly ordered set of commands to issue at the Windows command prompt or, more easily, save in a file called somename.bat (e.g. randomtest1.bat).
For this to work you need to create an empty directory and put your original image in it along with a copy of DeeepArtEffectsCli.exe.
Enter the Directory name and the filename in the spaces below and click the ‘Get my script!’ button.
A new browser window will open with a unique set of command to produce a set of 68 new images in a randomised ordering of styles.
OK, what do I do?
Open a text editor (not a word processor) – notepad will do, Select all the text in your personalised command list (Ctl-A) and copy it all (Ctl-C) then switch to your text editor and Paste it in (Ctl-V). Save this file using the extension .bat (it’s a batch file) in the directory with DeeepArtEffectsCli.exe and your original image in.
Simply double click on your batch file in Windows Explorer.
The same set of commands in your batch file with the same original image will always produce the same results. You want to press the ‘Get my script!’ button again to get a new set or randomised commands (you can just refresh the page if you want the same file + directory).
You optionally run this from the command line by typing the name of your file in at the command prompt once you’ve changed to the target directory instead.
Once you’ve had a few goes you’ll notice the first dozen or so tend to create interesting effects while still being an obvious variant of the original image you used. We’ll get into some interesting things that leads to next time.
[wpedon id=360]
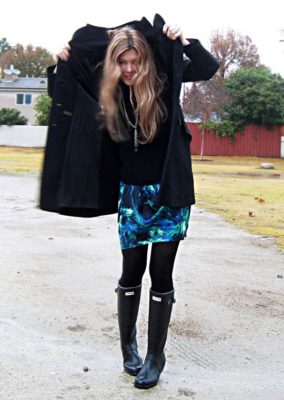
“coat and boots in the rain”by Maegan Tintari is licensed under CC BY 2.0![]()
![]()